


Spa Parts Installation Guide: for Service Teams & Distributors
Undoubtedly, spa after-sales work operates on a tight schedule, requiring your team to complete installations quickly and accurately—without rework or delays. As a result, more and more outstanding distributors and on-site service supervisors are improving overall efficiency through standardized procedures and pre-assembled components. This article summarizes essential tool lists, installation processes, and key precautions to help your team become more professional, efficient, and widely praised.
Before Replacing Spa Components: Safety and Compliance Procedures
Safety first. All spa component installation, maintenance, and replacement operations must strictly follow the IEC/EN 60204 electrical safety standards and EN ISO 12100 risk assessment guidelines:
1.Power Off: Turn off and lock the spa main power supply; use a multimeter to verify the terminal voltage is 0V.
2.Shut Off Water Supply: Drain water level below the component to be replaced; close the return pipes of the pump and heater; release pipeline pressure.
3.Inspect Work Area: Ensure the floor is dry and well-lit; remove any trip hazards; wear insulated protective gear.
Tools and Spare Parts Needed for Spa Component Replacement
Based on collected user feedback, the technical team selects appropriate repair tools and components to minimize returns to the warehouse and reduce repeat service visits.
Spa Repair Tool List
1.General Tools: wrenches, screwdrivers, pipe cutters, clamps, sealants, multimeters, infrared thermometers
2.Specialized Tools: jet-specific removal wrenches, jet cleaning brushes, valve core pullers, hose unblockers, etc.
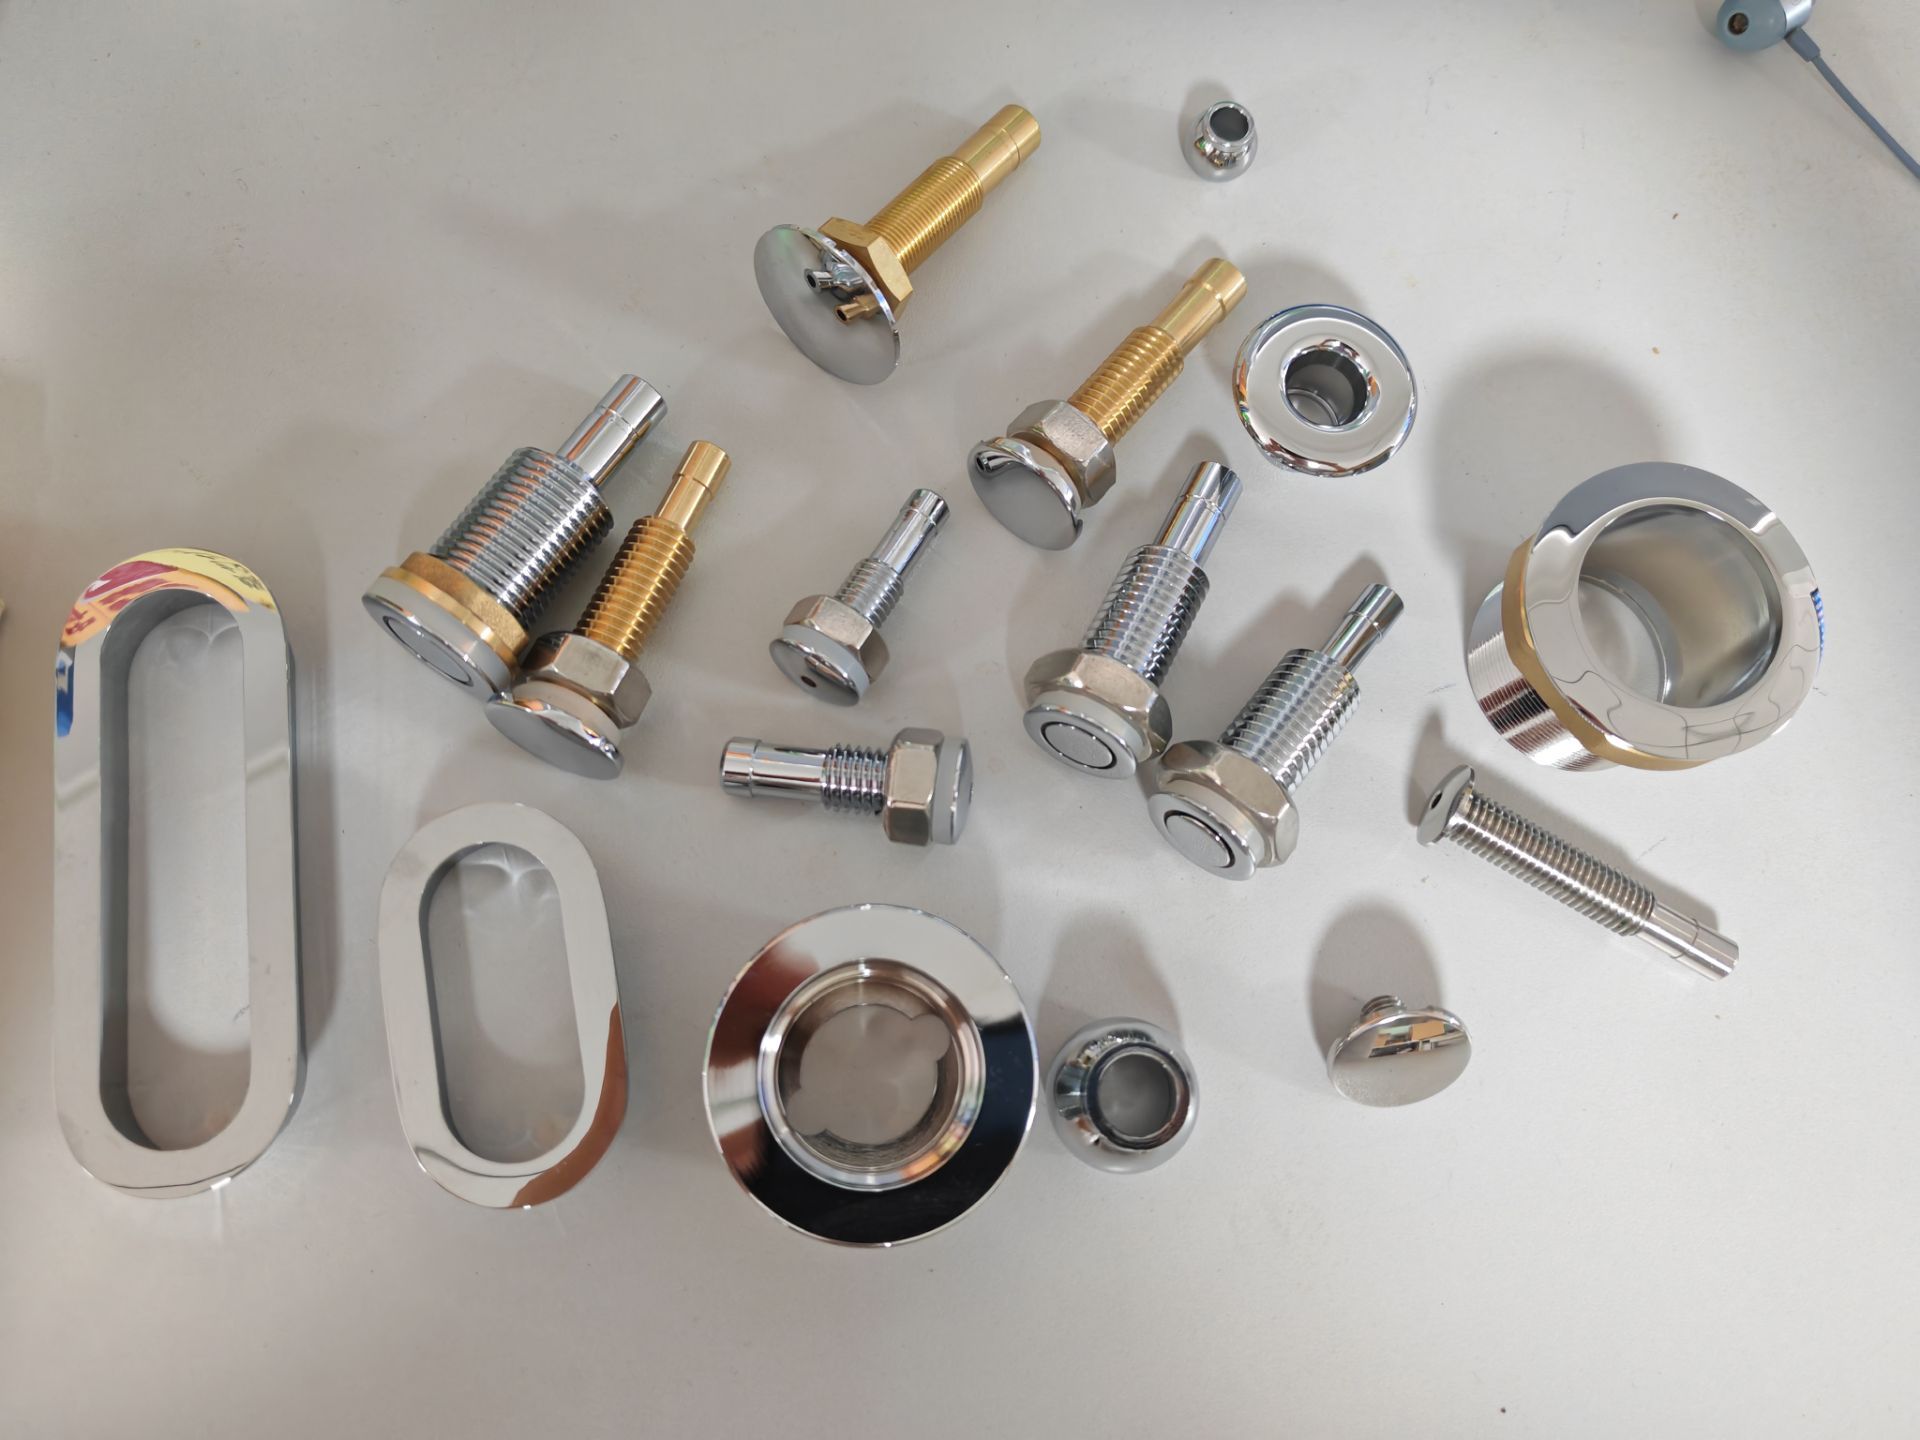
Spa Repair Spare Parts
1.Individual Items: jets, valves, pipes, pumps, heaters… essential spa components that technicians must carry in their service vehicles
2.Kits: pre-assembled spa massage system kits, including pumps, inserted inlet pipes, valves, and multiple related parts—plug and play
Hydrorelax offers a variety of functional, plug-and-play system kits tailored to your needs. Click here to see more system sets.
Standard Installation Procedure by Component Categories
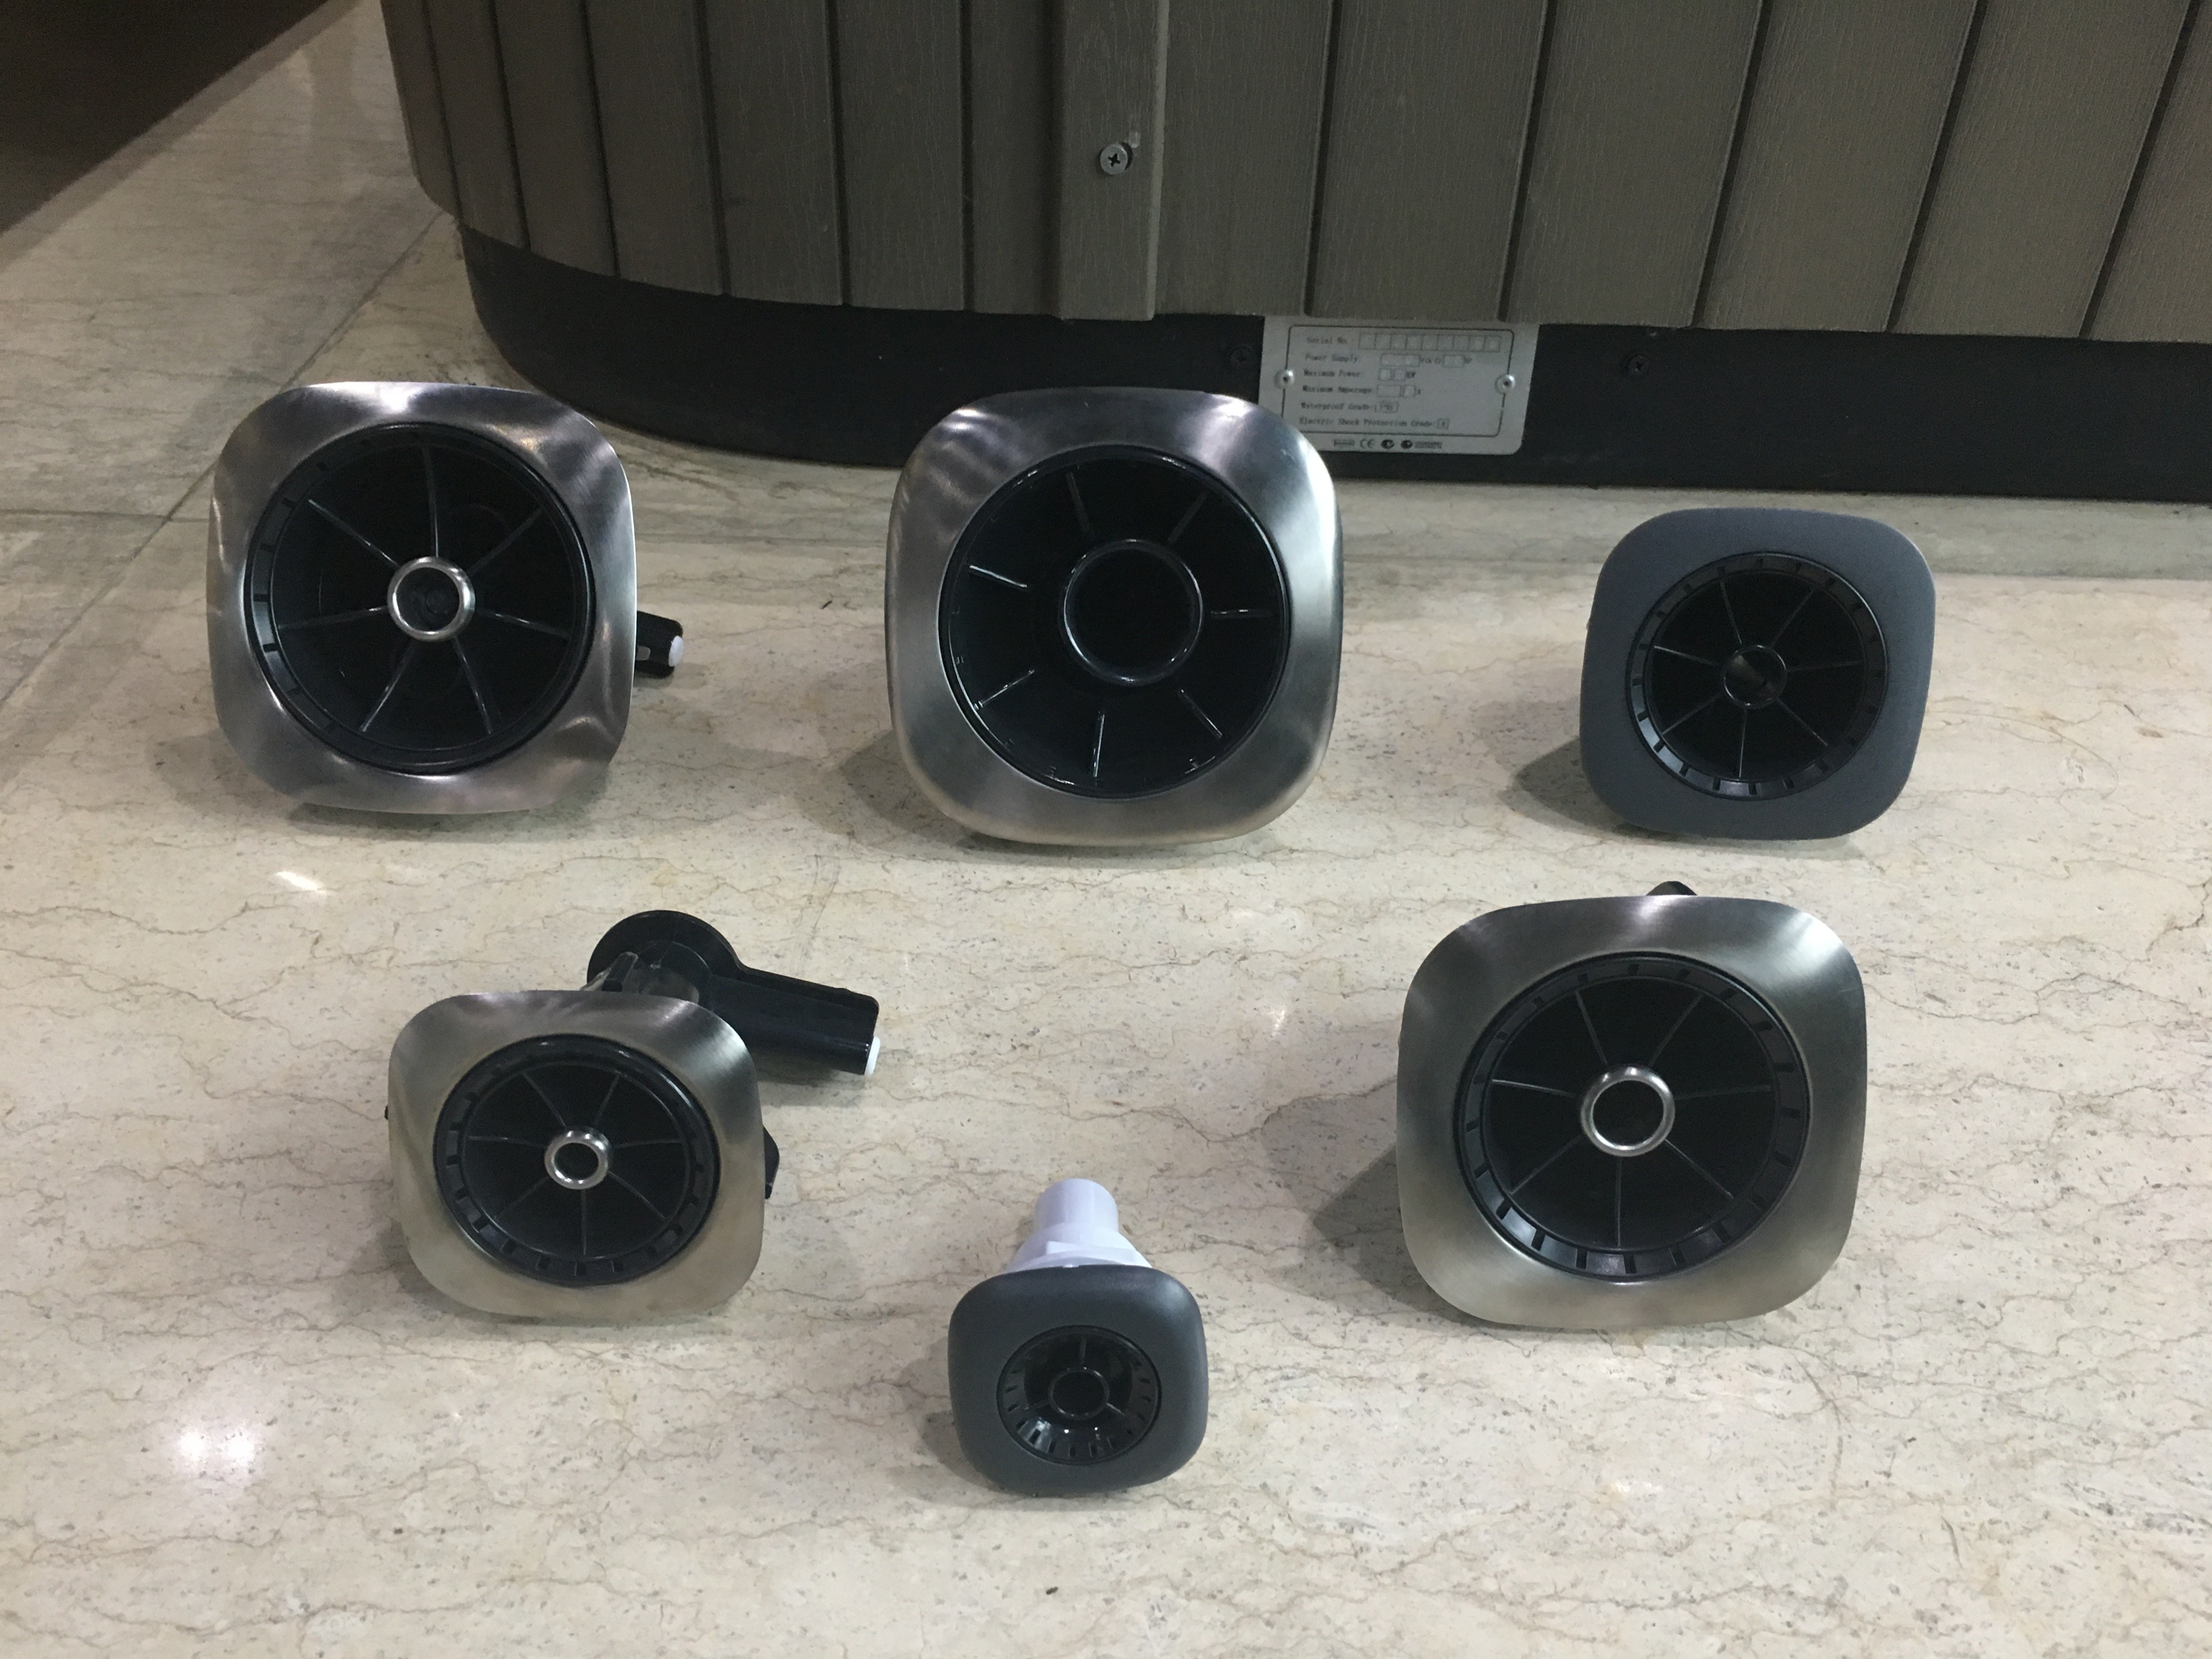
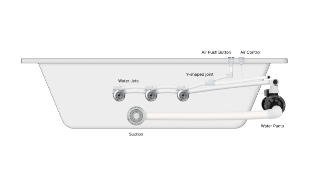
Jet
Applicable Scenarios
1.Noticeable decrease in spray strength or inability to adjust water flow direction
2.Cracked housing, loose jet, or leaking due to aged seals
3.Jet stuck, unable to rotate freely or change modes
Replacement Steps
1.Shutdown and Drain: Turn off the system and lower the water level below the jet.
2.Removal Technique: Most jets use a quarter-turn locking mechanism (turn clockwise or counterclockwise ¼ turn to release); some are snap-on types that require gentle pressing before twisting.
3.Seal Inspection: After removing the jet, check the O-ring for cracks or hardening; replace if necessary.
4.Installation and Testing: Install according to model specifications, ensure the jet direction is adjustable and there are no leaks.
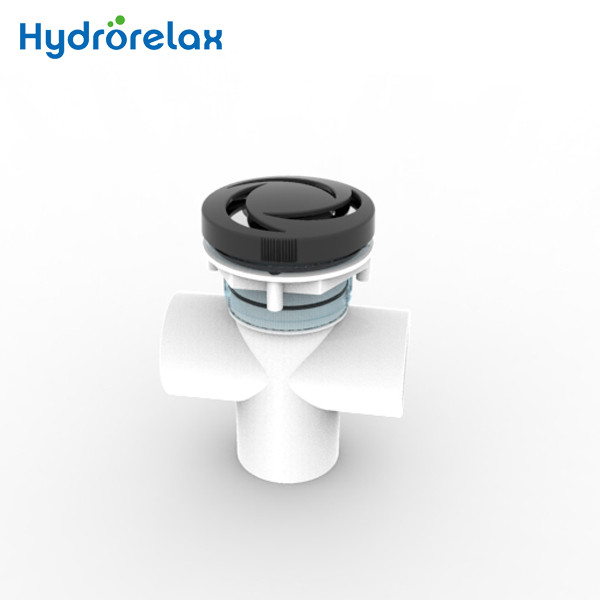
Valve
Applicable Scenarios
1.Handle rotation is stiff or completely stuck
2.Valve core has cracks, deformation, or damaged seals causing leakage
3.Internal buildup of scale or sand affecting water flow switching
Replacement Steps
1.Power Off and Pressure Release: Turn off the pump and release pressure inside the pipeline.
2.Removal Caution: When removing the valve cover, apply balanced force to avoid damaging the valve body interface.
3.Internal Cleaning: Before replacement, use a soft brush to clean the valve seat and inner pipe walls to ensure proper sealing of the new valve.
4.Installation and Lubrication: Apply food-grade silicone grease to the new valve core and O-ring to ensure smooth rotation.
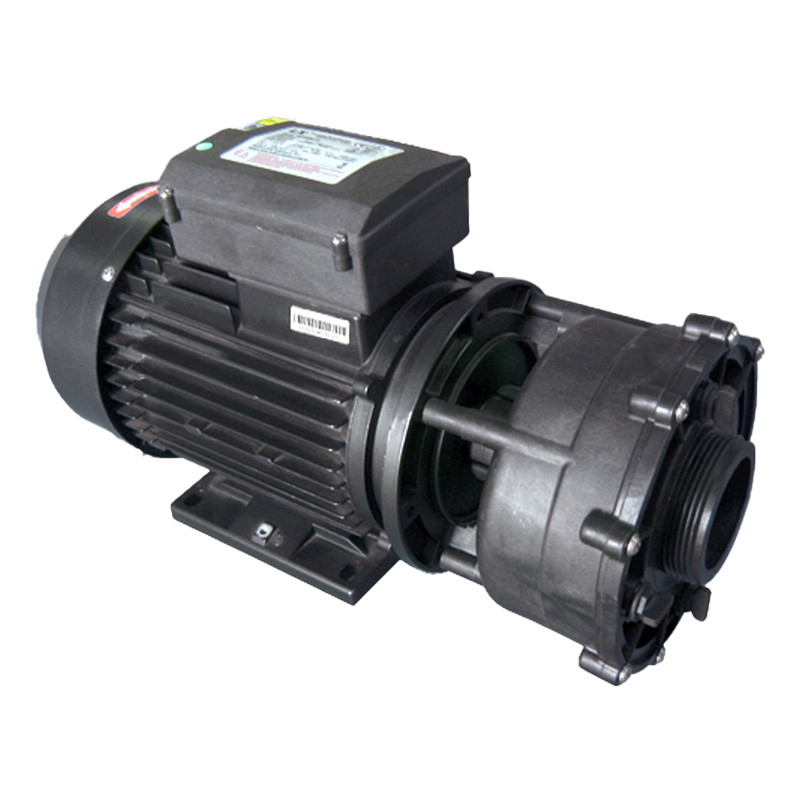
Water Pump
Applicable Scenarios
1.Unusual noise or excessive vibration from the pump
2.Significantly reduced or no water flow
3.Pump casing leakage or shaft seal damage
Replacement Steps
1.Drain and Disconnect: Turn off the main power, drain water from the pipeline; loosen the connectors at both ends of the pump and mark the wiring clearly.
2.Installation Orientation: Ensure the pump’s flow arrow aligns with the water flow direction; the mounting holes on the base must match the original bracket.
3.Wiring Standards: Connect wires in the order of live, neutral, and ground; apply appropriate torque to avoid loosening or overtightening.
4.Airlock Prevention Test: After filling with water, briefly jog the pump to purge air before continuous operation.
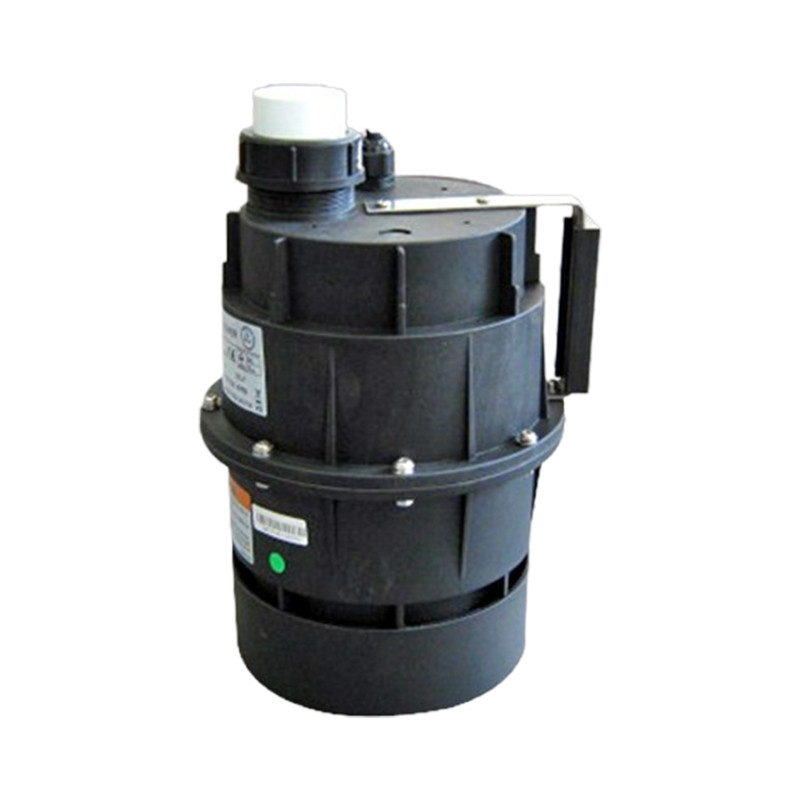
Blower
Applicable Scenarios
1.Noticeable decrease in airflow or no bubbles at all
2.Increased noise accompanied by motor overheating
3.Damaged casing or air leaks at connections
Replacement Steps
1.Shutdown and Backflow Prevention: Turn off the system and check the check valve to prevent water backflow into the air pump.
2.Connection Removal and Installation: Support the fittings when loosening hose connectors to avoid tearing the air pump housing.
3.Mounting and Vibration Reduction: Install the new air pump in a dry, ventilated area; place vibration-damping pads under the base to reduce noise.
4.Operation Check: Observe bubble uniformity and noise levels during operation to ensure adequate airflow.
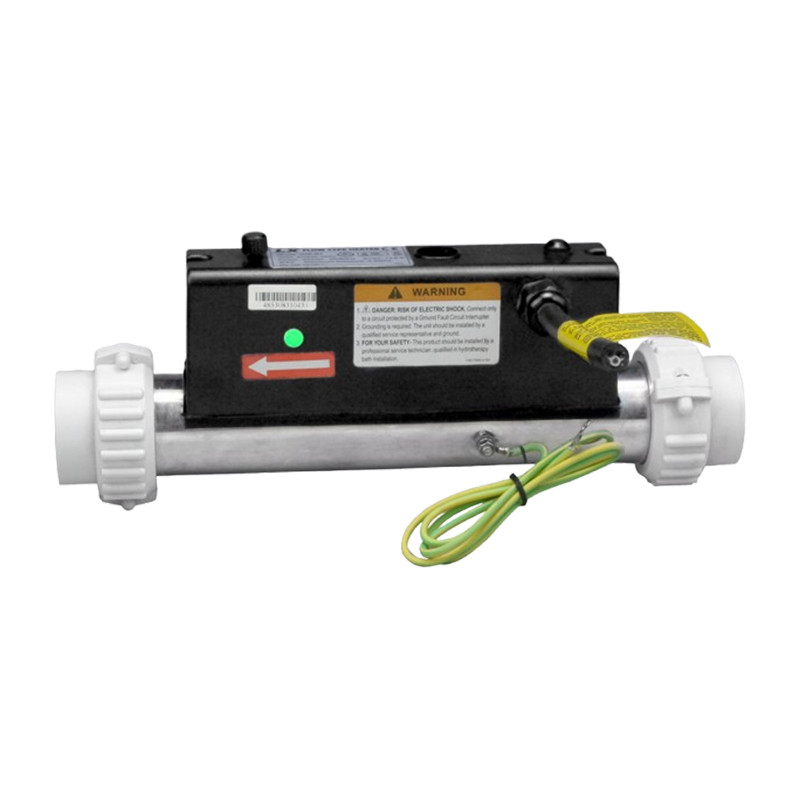
Heater
Applicable Scenarios
1.Slower heating speed or failure to raise temperature
2.Leakage, corrosion, or resistance value exceeding manufacturer specifications
3.Frequent tripping during operation or control panel errors
Replacement Steps
1.Safety Isolation: Cut off power and confirm no residual voltage; drain the pipeline where the heater is installed.
2.Connection Handling: Loosen the pipeline connectors at both ends, disconnect wiring, and mark terminal positions.
3.Installation Direction and Sealing: Ensure the heater’s water flow direction matches the arrow; apply silicone grease to the O-ring before installation.
4.Testing and Calibration: Fill with water and run the system, monitor heating speed and temperature control response to ensure no dry-run risk.
After Replacing Spa Components: Fault Troubleshooting
Below is a 24-hour operation monitoring sheet after component replacement, designed to help the after-sales team systematically follow up and troubleshoot.
| Inspection Time | Inspection Item | Detailed Description | Record Result (Normal/Abnormal) | Description of Abnormalities & Notes | Recommended Actions |
| Immediately After Installation | Leakage Check | Observe all new joints and sealing points under full water level | Readjust seals; reinstall if necessary | ||
| Immediately After Installation | Hydraulic and Airflow Test | Switch jets and valves; check for even bubble distribution and no hose leaks | Inspect hose joints; reseal or replace hose | ||
2 Hours After | Electrical and Temperature Control Verification | Operate heater; monitor water temperature changes and motor condition | Check electrical connections; clean motor or replace parts | ||
6 Hours After | Pressure and Circulation Monitoring | Check pump pressure and flow rate | Investigate airlocks or pipeline blockages | ||
12 Hours After | Safety System Confirmation | Test overcurrent protection, dry-run protection, and other safety functions | Repair or replace relevant safety components | ||
| Final Check at 24 Hours | Comprehensive Review | Confirm overall system operating status | Arrange further actions based on abnormalities |
Why Are Pre-Stocked Standard Replacement Parts Crucial for B2B After-Sales?
B2B buyers—such as distributors, OEM partners, and service contractors—in the spa and hot tub industry often face intense time pressure. Equipment downtime means revenue loss, customer dissatisfaction, and increased maintenance costs. By pre-stocking standardized replacement parts, businesses can immediately deploy repairs without long procurement delays, significantly improving after-sales efficiency and strengthening supplier reliability and reputation.
Minimizing Downtime and Service Interruptions
In commercial spa venues like hotels, wellness centers, and sports clubs, equipment failure directly results in revenue loss and customer complaints. Keeping critical replacement parts on hand—such as pumps, jets, fittings, and control panels—enables repairs within hours instead of weeks, greatly reducing interruption risks.
Ensuring Cross-Model Technical Compatibility
Standardized replacement parts fit multiple spa brands and models, eliminating the need to stock dozens of unique parts for each model. For example, a 50mm PVC elbow or universal jet can be used across various spa systems, ensuring quick replacement without compatibility issues.
Shortening Delivery Times and Simplifying Procurement
Having parts in stock avoids waiting for overseas shipping, customs clearance, or factory production schedules, resulting in faster delivery, lower logistics costs, and improved after-sales performance.
Enhancing Service Reputation and Customer Trust
In the competitive spa parts market, fast after-sales service is a key differentiator. When customers experience efficient, hassle-free part replacements, they are more likely to renew contracts and recommend your services. Pre-stocking standardized replacement parts is a strategic advantage that helps secure long-term partnerships.
Hydrorelax: Your One-Stop Solution for All Spa Replacement Parts Procurement
With over 20 years of industry experience, Hydrorelax is a professional spa component manufacturer and supplier offering a wide and comprehensive range of products, including but not limited to pumps, blowers, heaters, jets, pipes, fittings, and ozone generators. We consistently adhere to strict quality control and globally accepted technical standards to ensure our replacement parts perfectly match mainstream brands. This reduces installation and commissioning time, lowers after-sales costs, and keeps your business running efficiently with a strong reputation.
Feel free to contact us for more information on spa and hot tub replacement parts!
If you want to know more about [spa components], please click on the blogs we have already published.
Legal Disclaimer
This information is for reference only and does not replace the operational instructions provided by equipment manufacturers. Hydrorelax makes no guarantees regarding the accuracy, regulatory compliance, or applicability of the content and assumes no liability for property damage, personal injury, death, or other losses resulting from the use of this information. Users assume all risks associated with the use of this product and related information. Before installation or maintenance, please consult a licensed electrician, qualified spa technician, or professional installer.